
Last week, our instructor give us a PC and computer tools. Then after that at the same time we're given straight away a task where we have to assemble and dissemble the PC that been given to us using the tools. This task were given in a group work of 4 or 5 people. So here are steps of assembling and dissembling of a PC where I will explain how, show some picture and videos or either of it.
Firstly before do this, here are the things that you should do first:
- To be make sure you in dry condition.
- Wear safety equipment's like gloves, safety goggles and etc.
- Do in a brighter place.
- Make sure unplug any cable from the PC.
- Make sure do in big room so that it easy to put computer's stuff
The first step is to unscrew all the screws from the case of the computer.


Next is to removing and placing back CD/DVD-RW ROM.

Next is the most easiest thing but be careful, once broken consider as broken even though it is small thing and make sure after placing it, it must be clip back both on the right and left side, RAM (Random Access Memory).

Next is removing and placing back floppy disk.

Then remove and place back hard disk of the computer.

Unscrew and screw fan of the computer, above are top view and below are the other side of the fan.

Next is removing and placing USB port.

And now the cable from hard disk to motherboard is remove and place it back.

Then now removing and placing the CMOS battery.

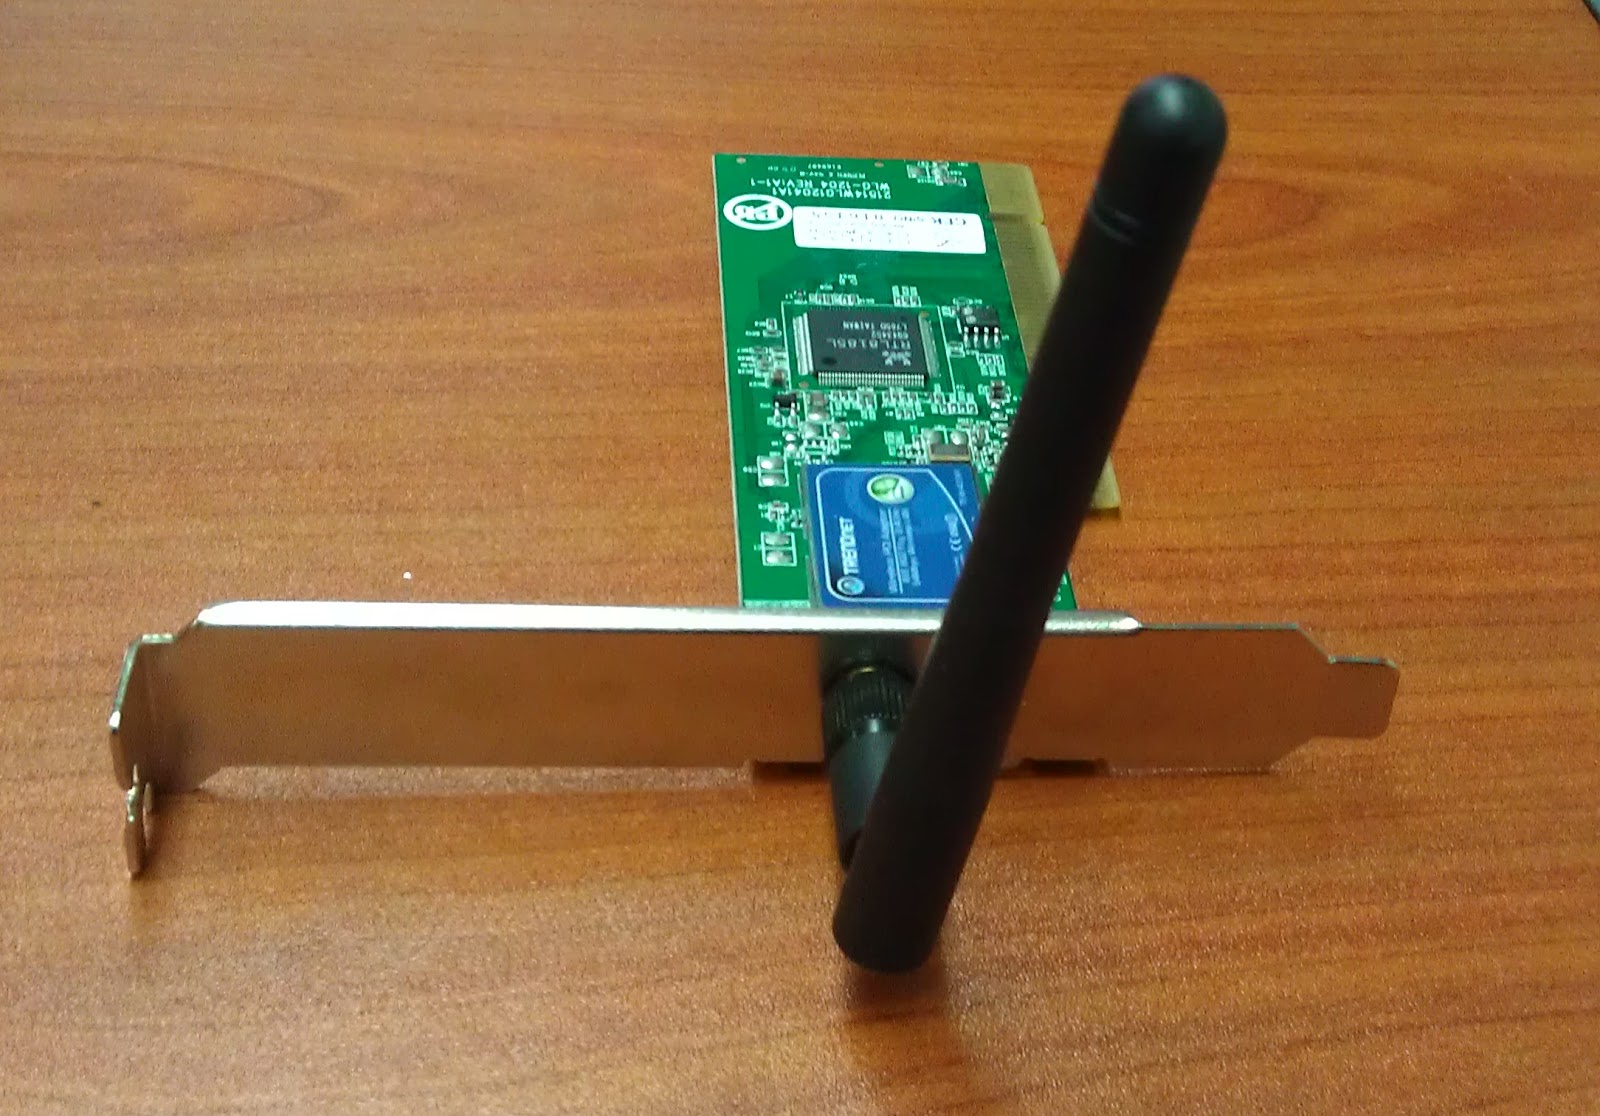
Next is the "Antenna F1"
Next is the speaker of the computer, unscrew to remove and screw to place it back.

Next is a power supply where we don't have to remove it.

After all been remove, this is how it look likes the part and the are place into specific place.

Lastly is to show how to close the case of CPU.


0 comments:
Post a Comment